

It has been a little over two years since I purchased my Creality Ender 3, am I happy with my purchase?
Short answer, yes! Long answer below:
I wrote a blog post about my Creality Ender 3 in November 2018, shortly after buying my Ender 3 on Amazon. I was a novice, and still consider myself to be new to this, even 2+ years later, but having gained this experience, I feel a lot better about where I am now versus where I was.
3D Printing has opened my mind to even more things, and has allowed many of my hobbies to intermingle even more. Last year I wrote about 3D Printing and Model Trains, and even since that post, I feel even better about how these two hobbies can work together. I have since made things for myself, for others, used printing for presents, and even have started using this skill to benefit others.
My Journey with the Ender 3, so far:
My journey with the Ender 3 started off very rocky. It was so difficult in the beginning that I almost gave up on the hobby entirely. Even still, I didn’t want to let myself be defeated. I always work to push through to find out the reason why something isn’t working. In this case I took on each battle individually and have learned that I had to overcome issues with the printer itself. The Ender 3 is a very budget friendly option which allows people to get in the door to 3D printing; the issue though is that when the price point is low you have to sacrifice things to make it there. With my situation, this led to issues that I had to overcome by putting time and money into the printer.
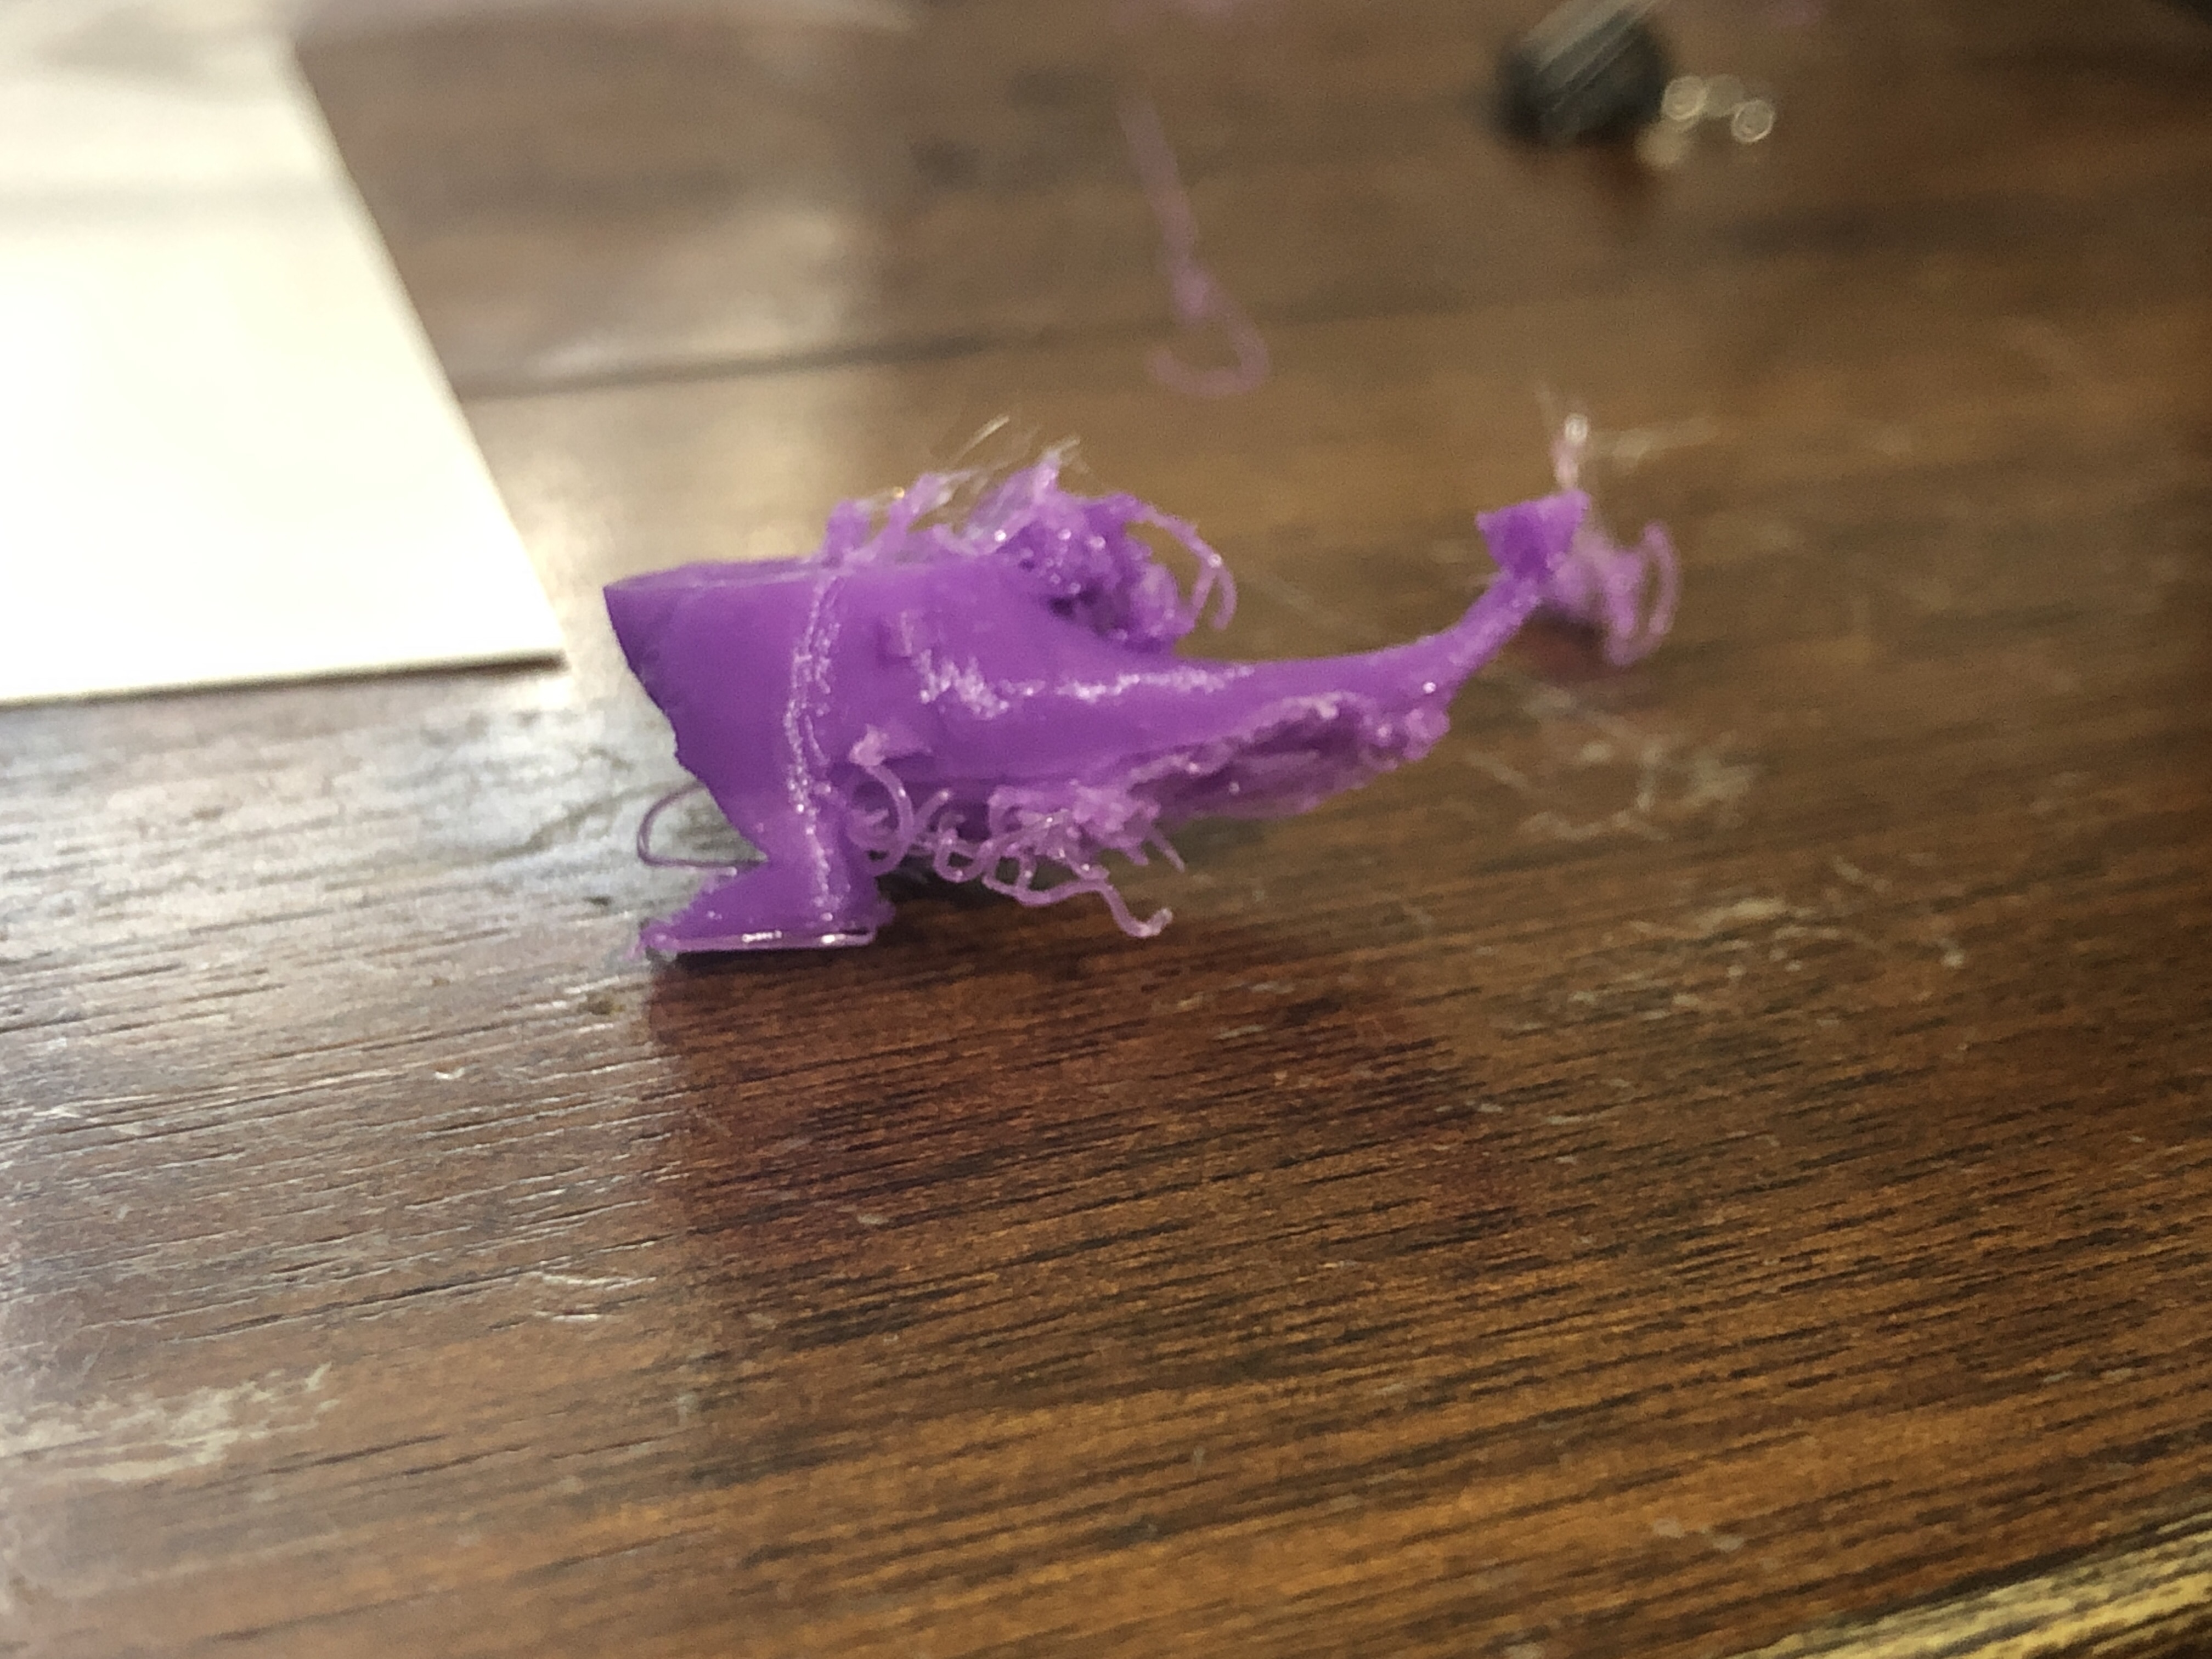
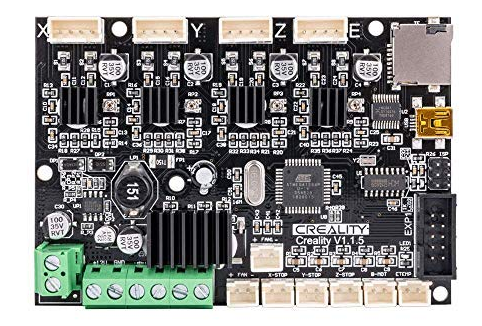
After about a year of struggling with the printer, I replaced the main-board. I was tired of the whine of the motors and saw that this upgrade was something nearly everyone in the community was doing. After completing this upgrade I saw a drastic improvement in not just the noise level of the printer, but also the print quality. I am not sure what it was, but something just was not right with my original board. I started getting repeatable, high quality results with the printer, but I was still battling some of the same issues with bed adhesion and leveling that I was having before.
When I initially received the printer and started using it, I think that I was just having to fight so many things at once, that it was difficult to process what was happening as someone that was new to the hobby. The environment I initially had the printer in was definitely not ideal. This was overcome by moving the printer to a room with a solid floor and consistent temperature. The board was faulty, I had no clue, but learned this was the case when I replaced it. The bed was warped, another common problem with these inexpensive printers, so I added a sheet of glass to it. Bed leveling and adhesion was next.
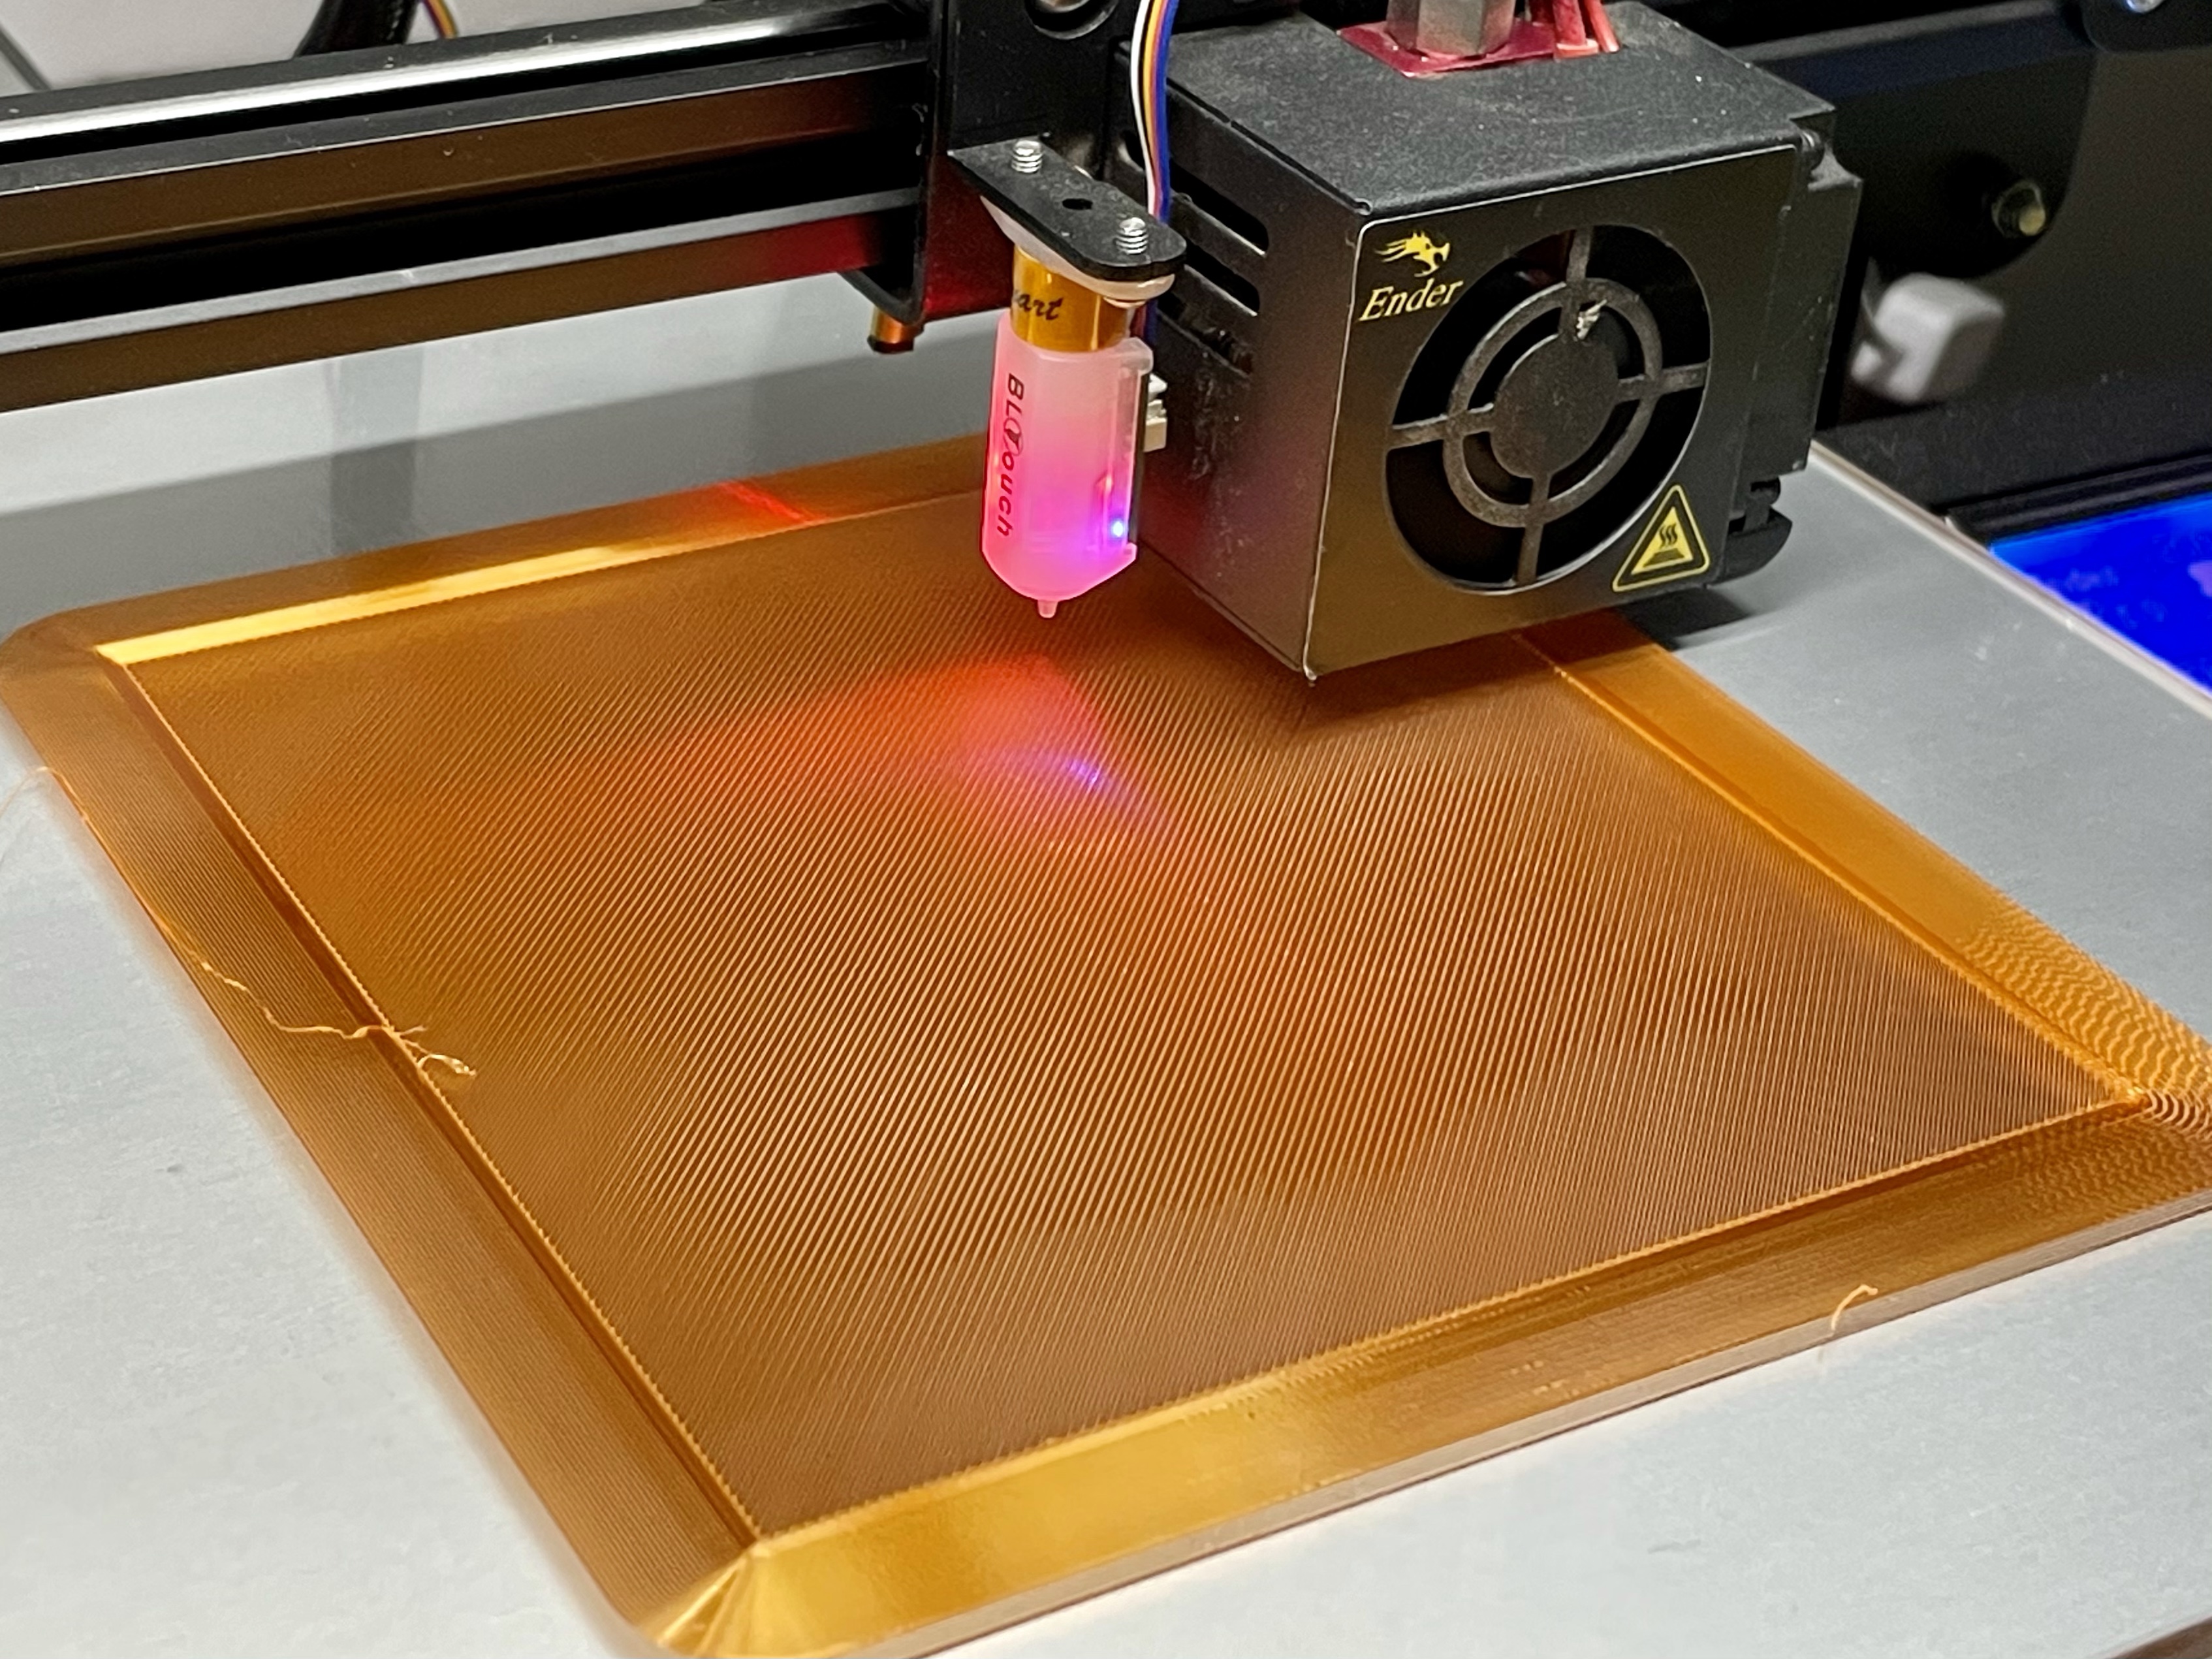
From this point, I was getting consistent results, but still fighting the leveling issue – something known to be problematic with the printer. Most people recommend replacing the springs, and adding glass and manually leveling the bed, and likely do see improvement, however, I proceeded to order the BLTouch Automatic Bed Leveling kit for the Ender 3.
I did not order the tool itself – which can be purchased on Amazon and installed with some 3D printed parts, and some DIY electronics work – but the actual kit made by the Printer OEM. I wanted this to be a solution that was explicitly designed for my system to ensure compatibility. While I know I could have gone the DIY route, I wanted to ensure the tool was made for the job. This upgrade, documented here on the blog, was both complicated, and simple, but also has led to the most consistent and the most fine prints that I have made.

The BLTouch has led to some of the most impressive first layers I could imagine and this has led to my genuine love of my 3D printer. I have now been able to just dial in my temperatures for each material, save the profiles in my slicer, and just hit go, and have confidence in the print.
Once I had the printer dialed in my use of the printer was exponentially higher and I began noticing some weirdness, literal bubbling of plastic, in the main power connector that is setup in wires coming from the power supply. After doing some research I discovered that Creality is either using faulty XT60 connectors or is improperly installing them. Either way I immediately shut the machine down until this was resolved, and ordered real XT60 connectors and immediately fixed the problem before allowing the machine to be used again. This was a serious fire hazard and a fire waiting to happen. Since this fix, I have had no issues and am not concerned about that issue.
Since the fix, I am now running this machine constantly, and this is leading to wear items needing replacement, but in the end, that is normal and expected. When you buy a car, you expect it to work, but you also expect to need fuel, oil, tires, routine maintenance, etc. I have now replaced the bowden tube and fittings with a high quality Capricorn kit, a significant upgrade to the stock tube and fittings and am currently using this machine on a multi-day print as this is being written.

List and timeline on upgrades and cost:
| Date | Item | Cost |
| Nov-2018 | Creality Ender 3 | $230 |
| Nov-2018 | Glass Bed for Ender 3 | $30 |
| Nov-2019 | Upgraded Main Board | $40 |
| Sep-2020 | BLTouch Upgrade Kit | $50 |
| Sep-2020 | XT 60 Connectors | $10 |
| Dec-2020 | Capricorn PTFE Tube Kit | $15 |
| Total | $375 |
Other Recommendations
While I only print with PLA at this point, I have definitely learned the importance of filament storage and ensuring a clean and dry environment for storing the materials. Having lost a couple small spools of filament to the environment I have a couple things I do to keep filament “safe.” The first thing I have done is purchased a plastic tote with a gasket and desiccant packs. This allows bulk storage of my filament and keeps the air in the tote dry. I monitor the status of the container using inexpensive thermo hydrometers that I purchased on Amazon. In addition to that, for the colors I use most, white and black, I picked up a Polymaker PolyBox to not only store, but dispense 2 spools of filament. It has a built in monitor for the humidity, and a place to put desiccant packs. While it is expensive, I would buy it again in an instant.
For filament I have had very solid experiences with Hatchbox and AmazonBasics. For the money, it is absolutely great filament. I have also used Inland PLA+ and have had good experience with it, however, it is a bit finicky for me with temperature. Inland produces a quality print, but it tends to string some from the nozzle, nothing that affects the print, just a weird experience. Finally, I have recently purchased some ProtoPasta High Five Blue, and while I printed a sample Swatch and love the color, I have not used it in a print.
For bed adhesion, I use the glass bed mentioned earlier, but have also invested (yes, invested) in VisionMiner Nano Polymer Adhesive. It is not cheap, but it is worth it to me. After cleaning the bed, I apply this adhesive and it just works. It is not needed for every print, so it lasts, but it is expensive. If you are having issues with bed-adhesion I would strongly recommend this over hair spray, glue stick, or most any other method.
For monitoring and a remote shutoff option I have purchased a Blink Mini security camera and an Amazon Alexa smart plug. The camera is not going to win any awards from me, outside of being functional, but this allows me to leave the printer and remotely monitor it. In the event of a failure I can kill it (shut it down) while I am not nearby.
Conclusion
Overall, I am satisfied with my purchase and ever since I have completed the upgrades I am having success with my printer and I am wanting to pursue this hobby deeper. It has inspired me to want to take on learning 3D Modeling, and seeing what I can do. I have learned a lot in this hobby and have been able to take my other hobbies further by making things to support them, add to them, and even in organizing things in my life.
While there were hurdles along the way, I have overcome them, and learned new skills with doing them.
I am glad I went with the Creality platform, even if it meant dealing with quality issues, and even the fire hazard it brought along. It led to me learning more about the tool I am using, the parts it is made of, how to put it together and take it apart, etc.
If you are interested in 3D printing, this printer comes in at a low price point allowing an easy path into the hobby, even with factoring in upgrades along the way. There is a massive online community of people who are willing to help with any questions one may have as well.
Please note this product was purchased with my own funds, however, as an Amazon Associate I earn from qualifying purchases. This is no way changes my opinion of the product. If you are interested in the products that were discussed please use the links in the post to pursue them.

2 Replies to “Two Years with the Creality Ender 3”