

In the ever evolving saga of my time with the Creality Ender 3 including changes, upgrades, and refinements I decided to change the build surface that I am using. Originally, my Creality Ender 3 came with a removable and flexible build surface, but I never had success with it. I read around and watched videos and from the beginning it looked like everyone was suggesting to, or were immediately, swap out the build surface.
I eventually upgraded from the included surface to a glass bed, and had fantastic success with that for a long time, however, with the increased usage I wanted something that I could more quickly remove prints from and keep the machine running. In addition, I had invested in Vision Miner’s Nano Polymer adhesive, which is expensive, but a godsend, and was a seeming requirement for build adhesion on the glass surface. On the plus side, this combination was a very successful system, however, it is messy and can be unpredictable.
I have recently been researching to hopefully soon acquire another printer. I loved the idea of the Original Prusa i3 printers with their magnetic build plate and the PEI print surface and I then decided then I wanted to find something comparable for my Ender 3.
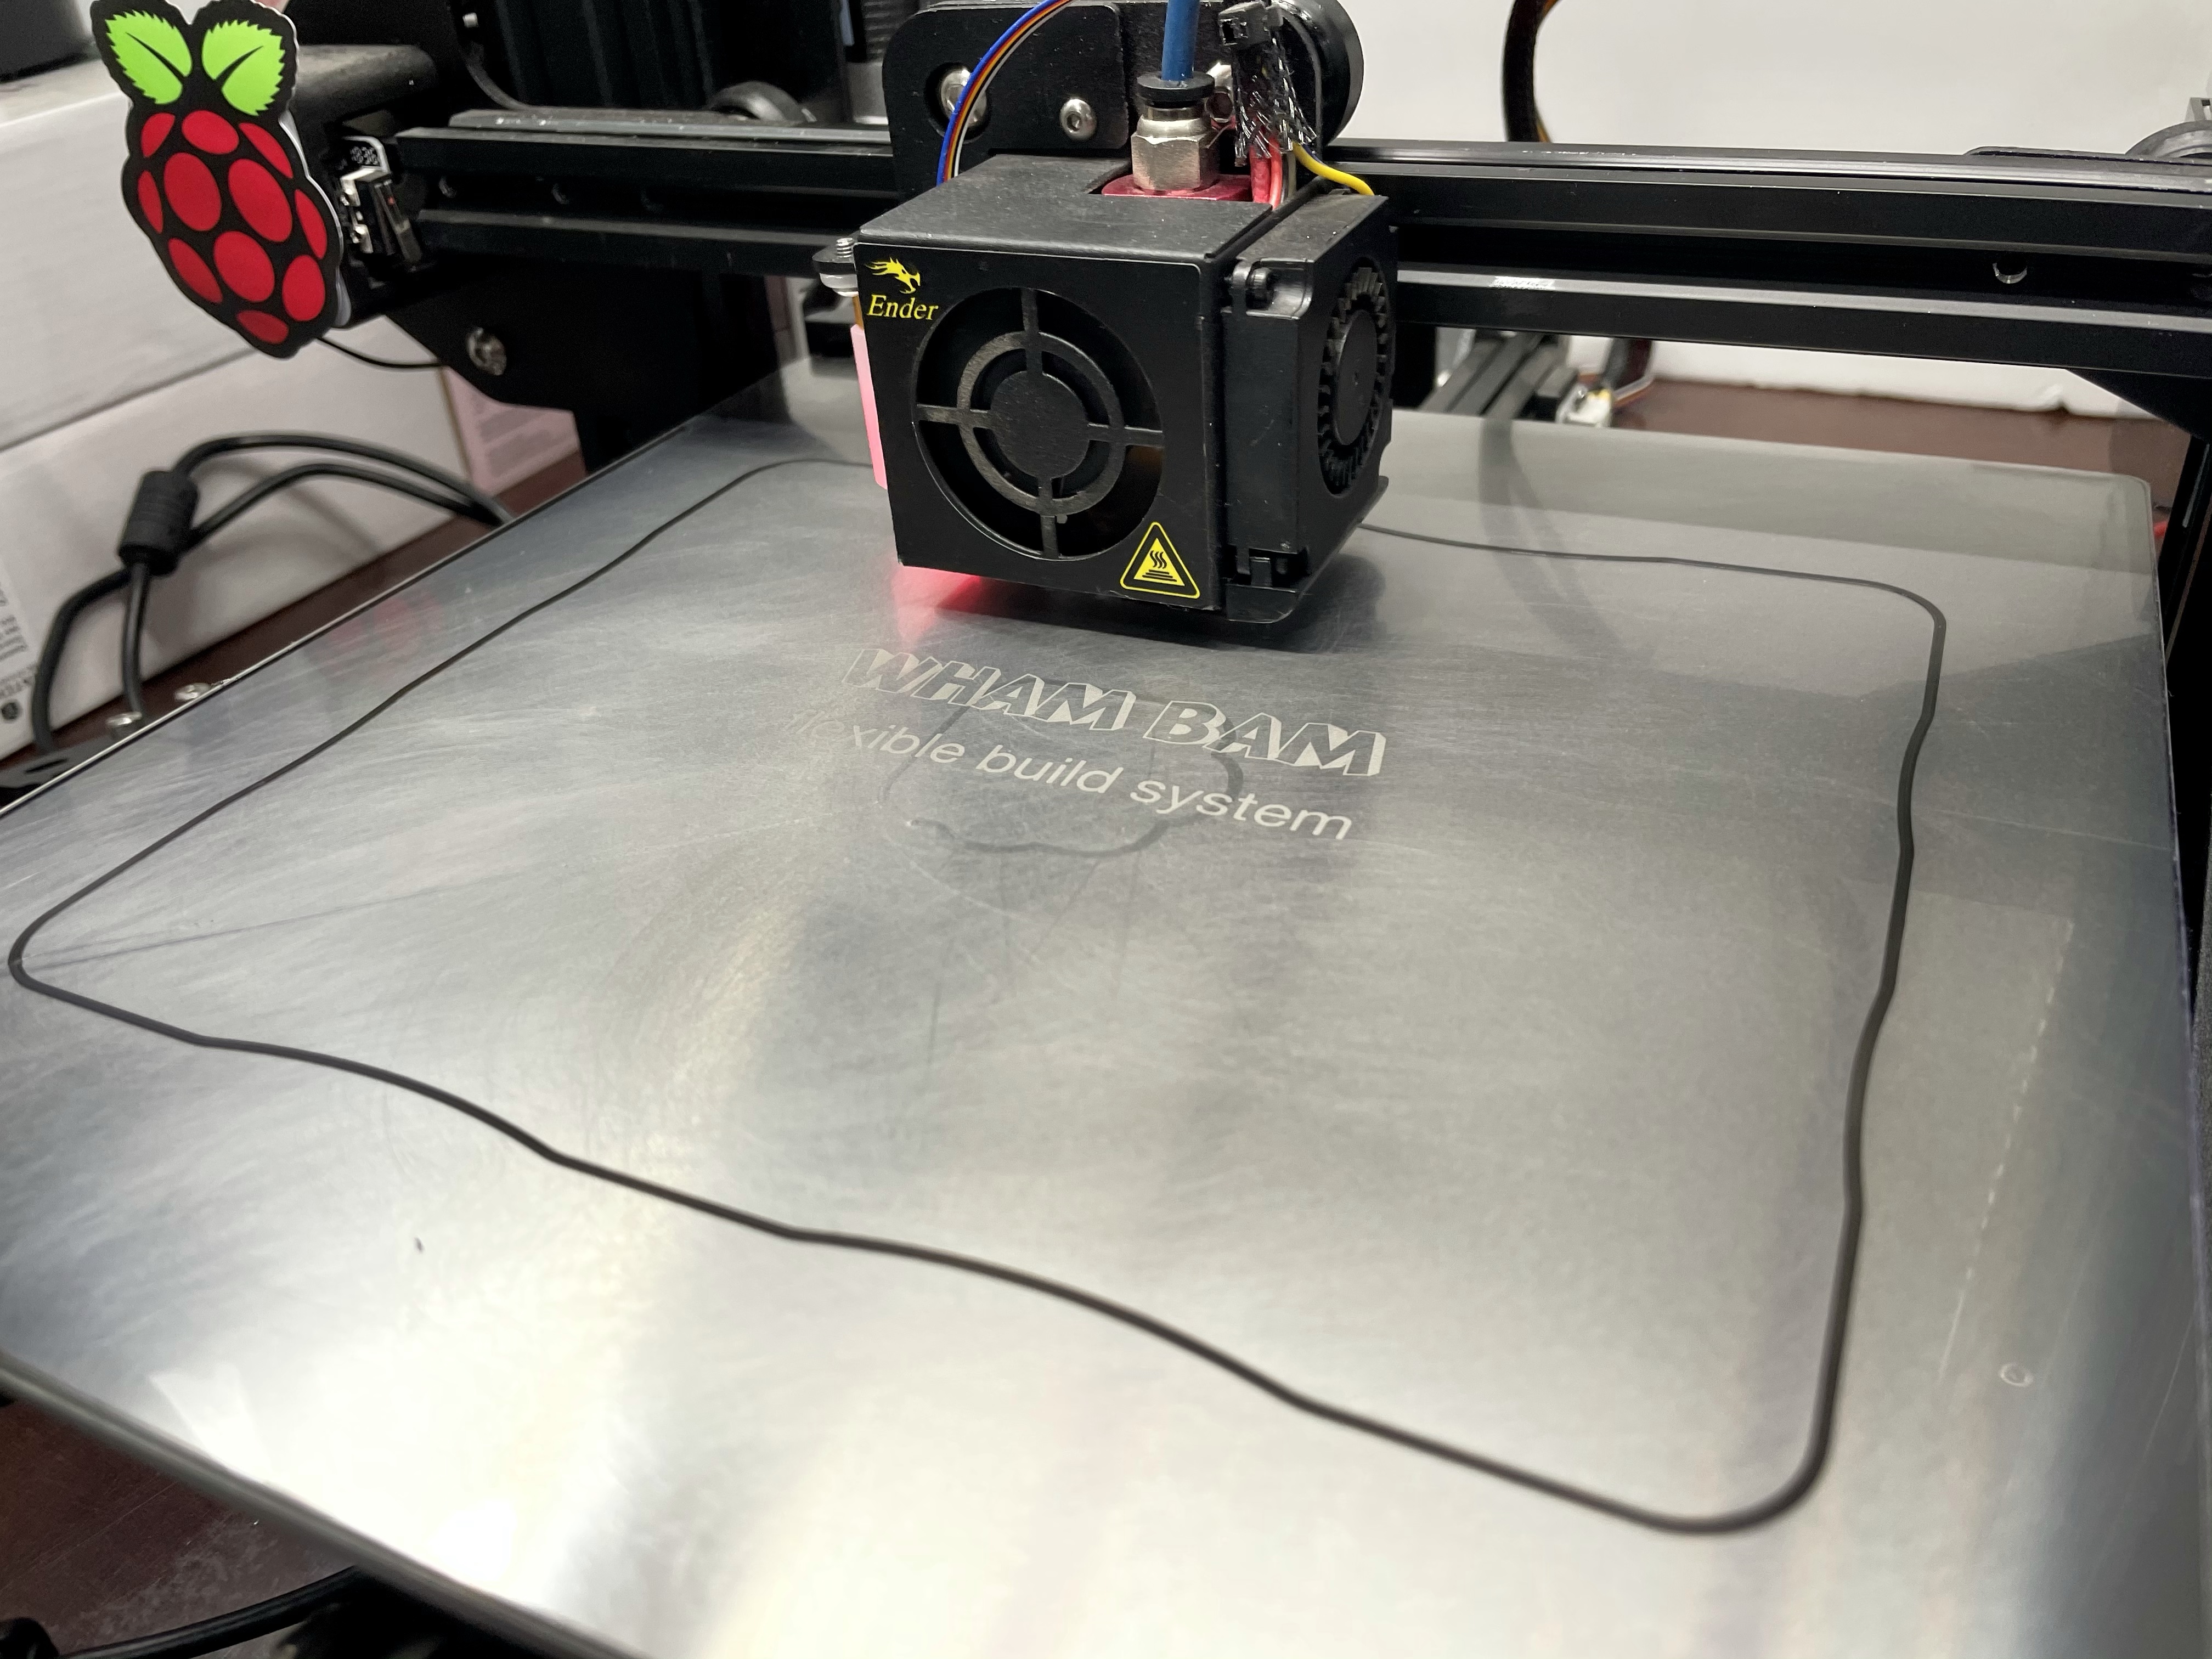
During the research I came upon Wham Bam System’s Flexible Build System and watched content, read some reviews, and was sold on the guarantee of high-temperature functionality allowing usage of filaments like PETG, something that is also not recommended for glass, to be printed.

Installation of the Wham Bam Flexible Build System
Having already moved on from the original build surface, I didn’t have much work to move onto the install of the Wham Bam Build System. A lot of people have reported that the included build surface on the Ender 3 will ultimately fuse to the heated bed, and I had replaced it early on so there was no adhesion to worry about as I was only removing the glass surface.
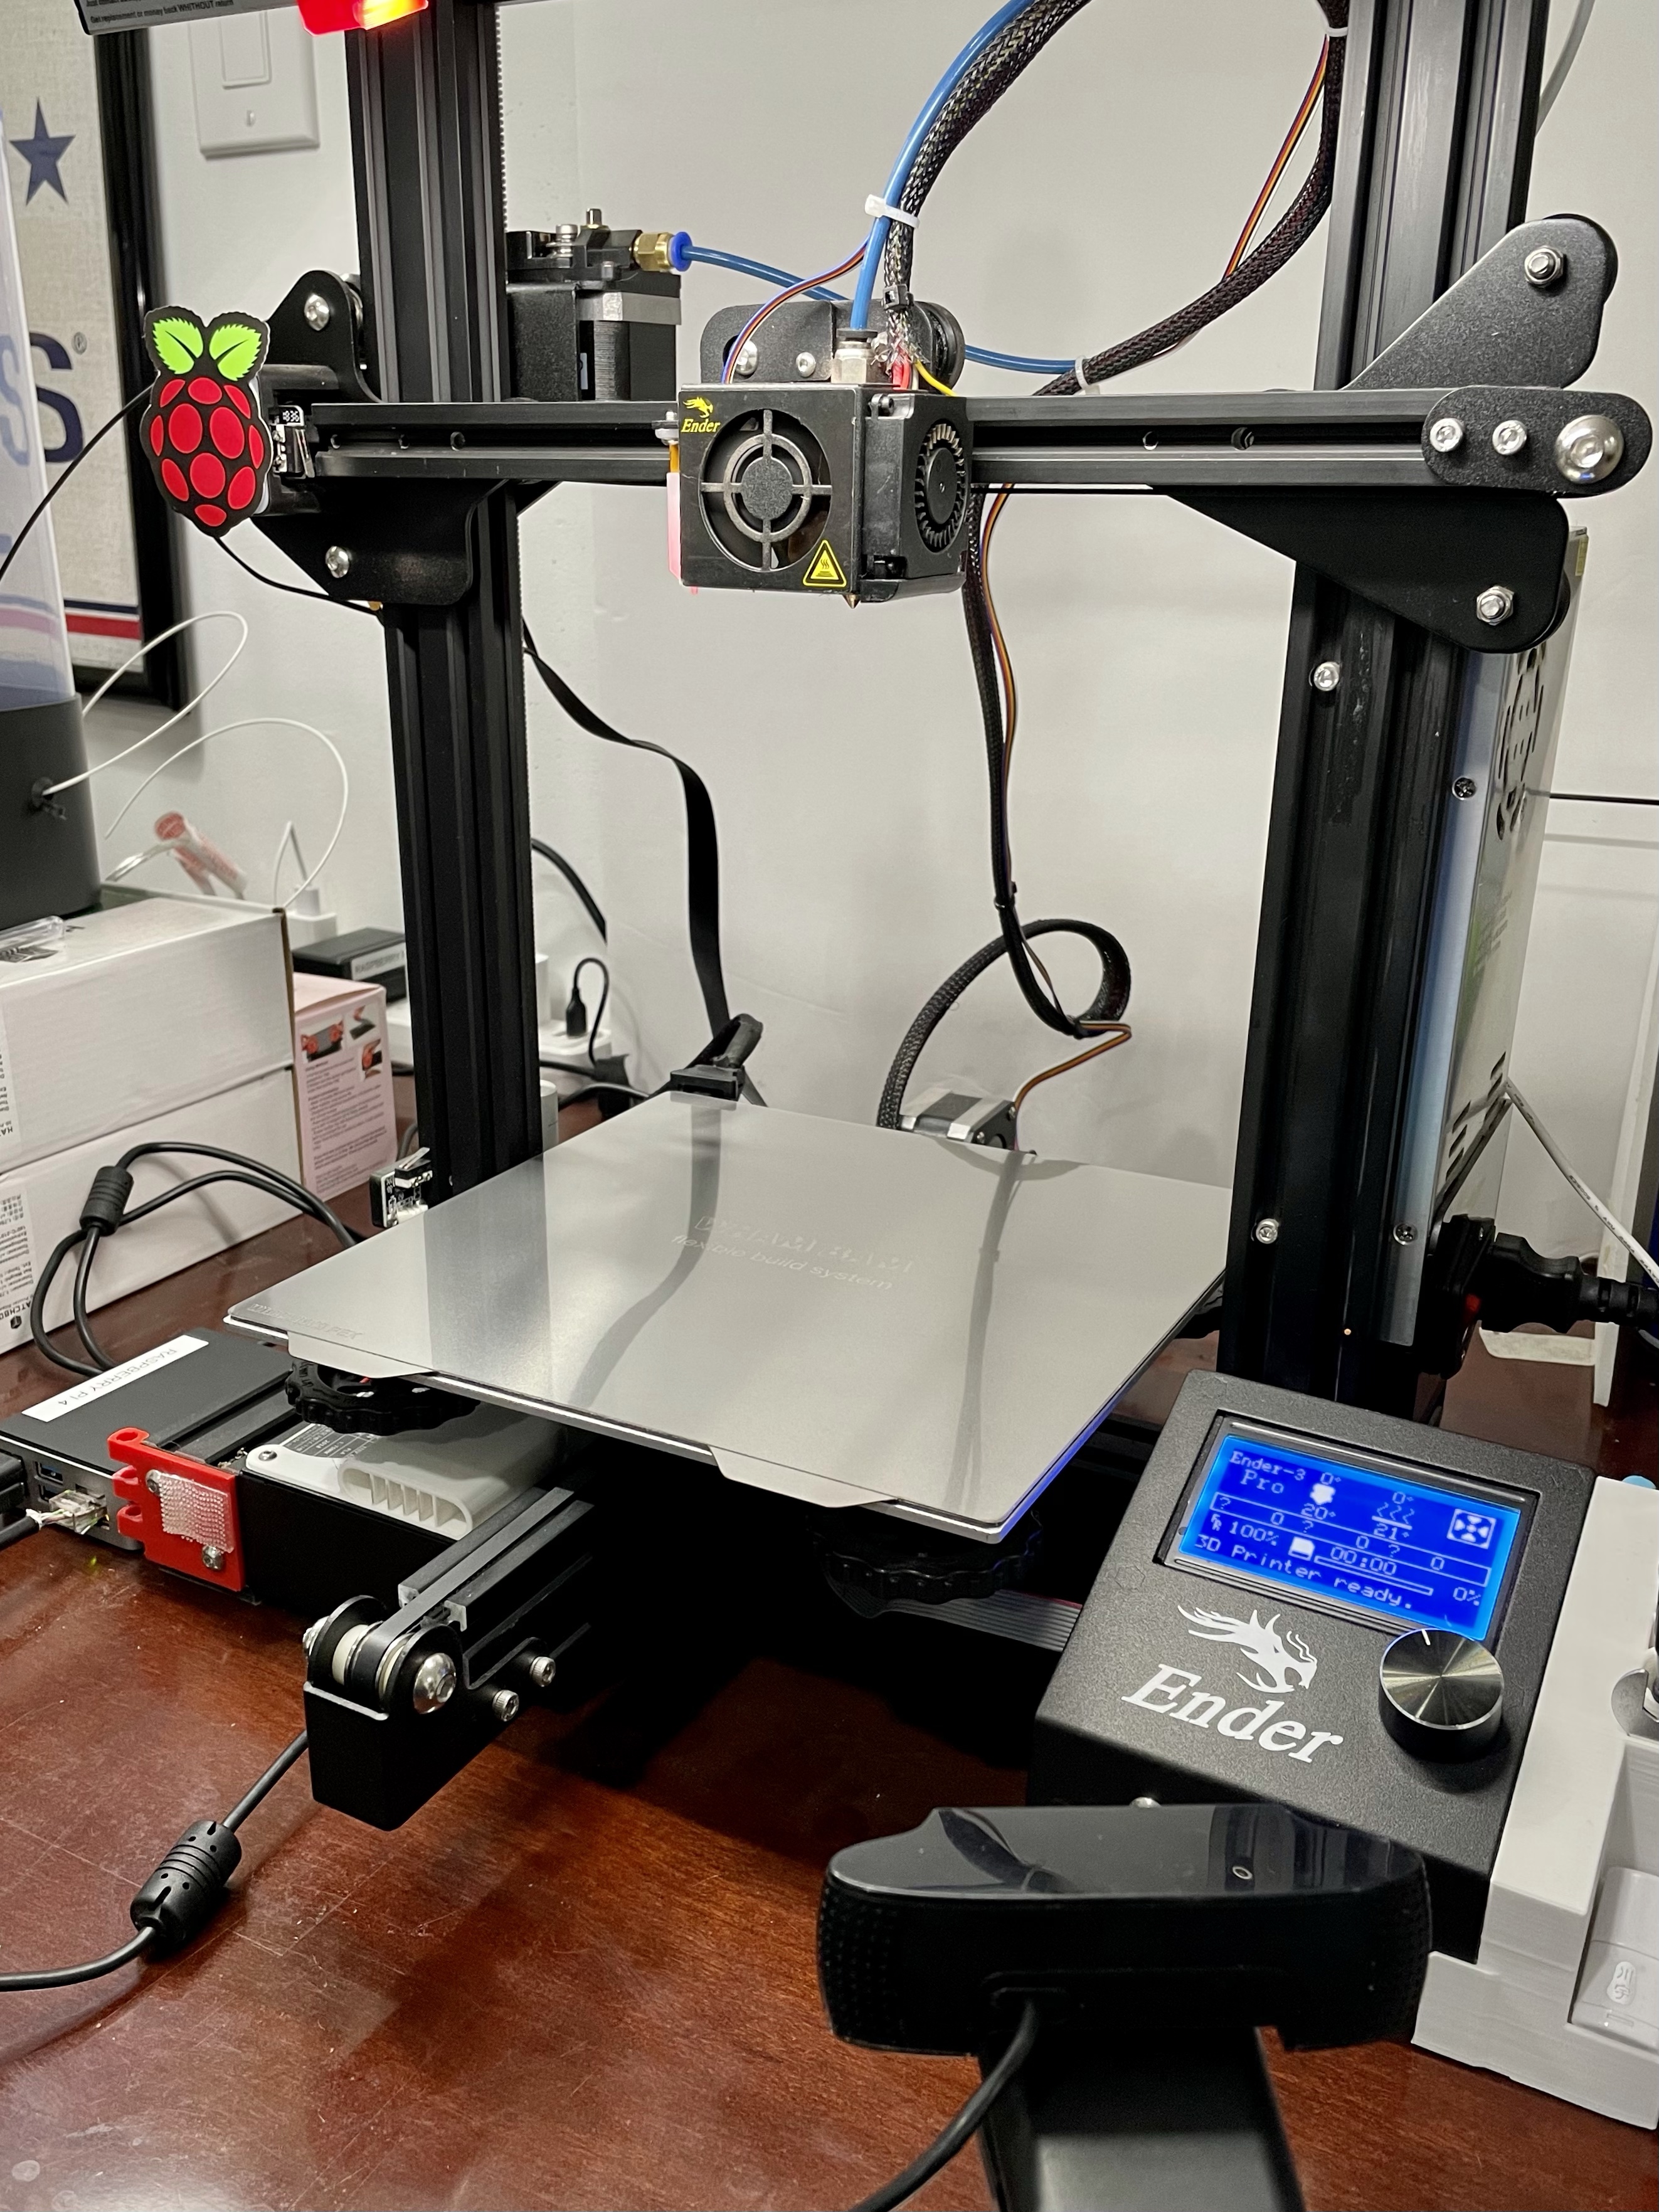
I took a moment to clean the heated bed with Isopropyl Alcohol and installed the 3M magnetic sheet as advised by the instructions. From there I allowed it some time to cure, and began the process of adjusting the z-offset. With a different build surface the z-offset needed to be adjusted – for me, from -3.6 to -3.70.
In addition, I used the included 000 Steel Wool to scuff the surface on the entire build surface.
Results
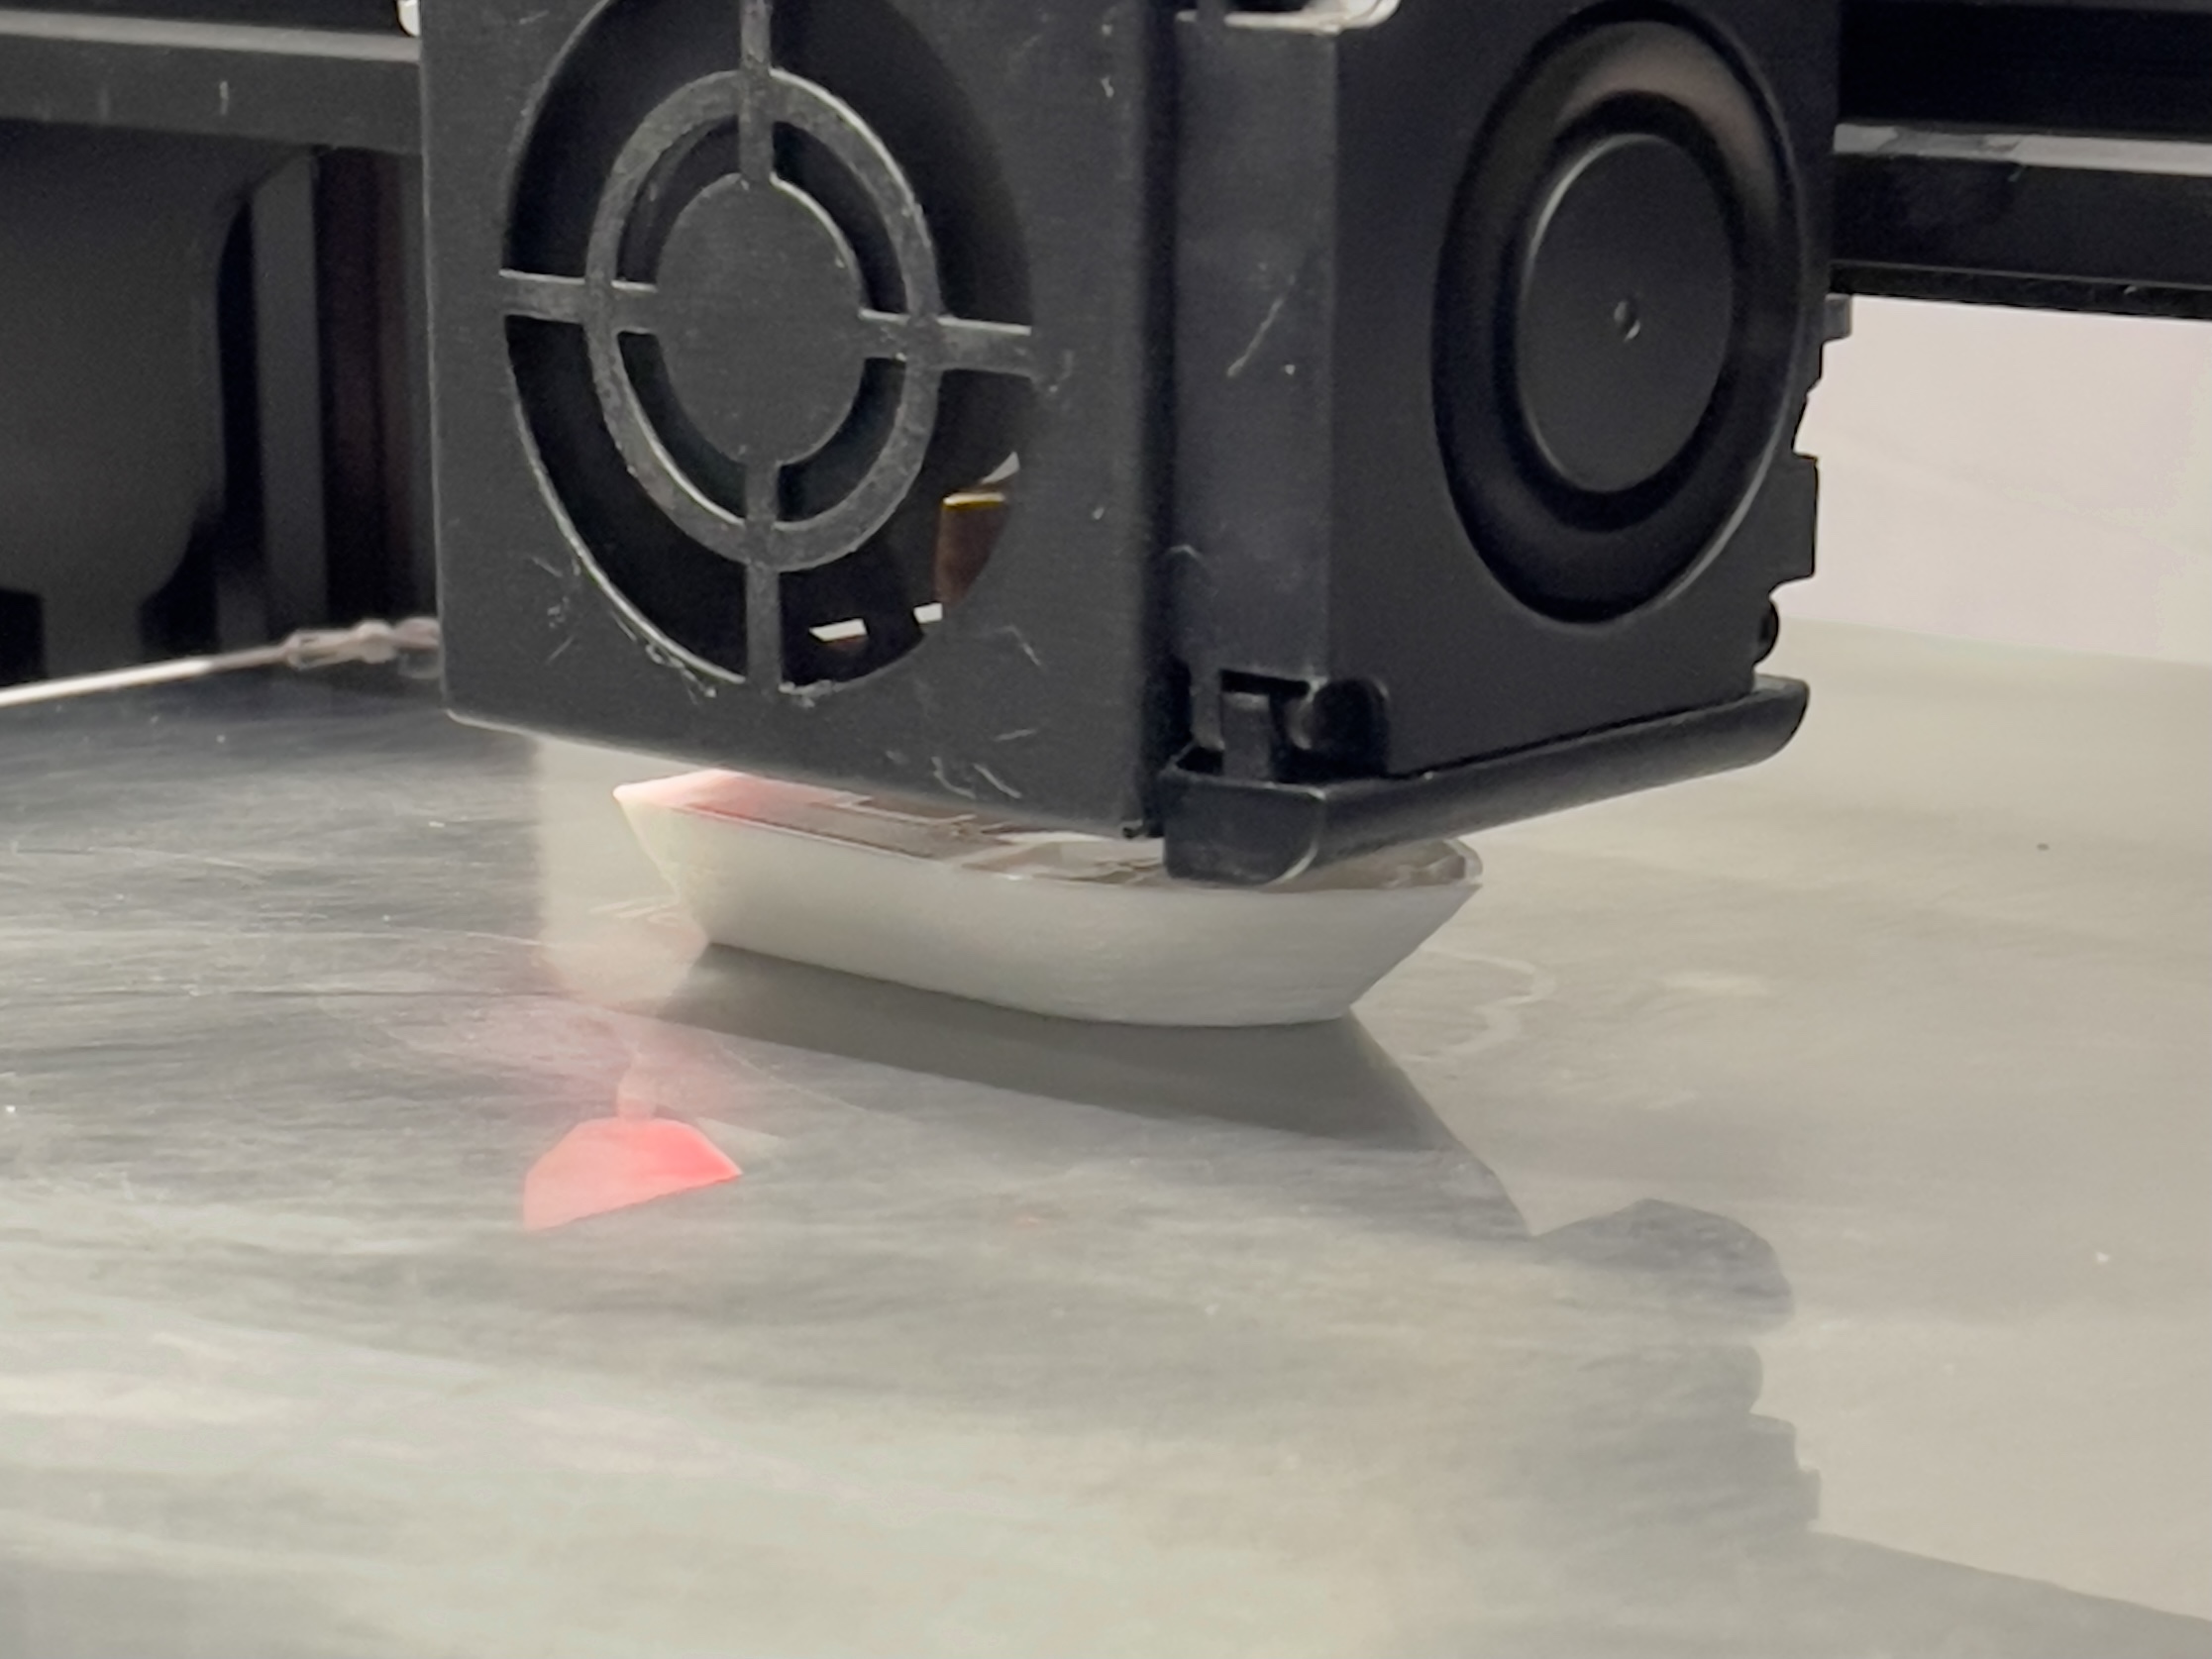
This build system is fantastic. In comparison to the glass bed, the bottom of the prints have a similar ‘glossy’ finish, as opposed to the textured finish of the build-tak like surface that the Ender 3 comes with.
No additional adhesive assistance has been necessary. Prior to every print, I clean the build surface with Isopropyl Alcohol and a lint-free cloth to ensure no oils, or dust is present.
The ability to pull the build surface off and cool it quickly and have the print release due to thermal changes is fantastic. One massive advantage in my eyes is that I no longer have to use a spatula to pry at, and subsequently deform, a print. I can either allow the print surface to cool and give it a little “pop” and have it come free, or I can bend the surface and have the print free itself.
Conclusion
Overall, I am thrilled with the print surface and plan to buy another one to allow myself to quickly swap out beds between prints and continue to have the machine working for me. This process will drastically increase output for me if needed and I am excited to have made this investment.
While the price to entry is high, it is definitely worth it. Similar more established alternatives can be 2-3x more expensive, and this is as effective.

Finally, if the end-user wants to experiment with alternatives, they have will have already installed a magnetic surface and at that point it will only require the build surfaces to be swapped moving forward.
If you are in the market for a system like this, I would highly recommend it at this point.

One Reply to “”